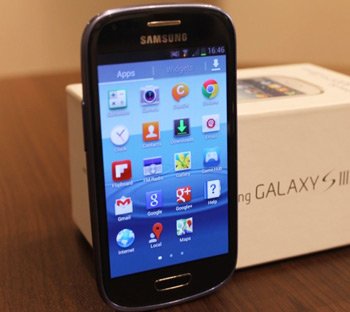
How to Flash Android 4.1.2 UBAML2 on Galaxy S3 Mini GT-I8190L
This tutorial serves the purpose of updating Galaxy S3 Mini GT-I8190L to Android 4.1.2 for people over in Brazil and using VIVO. The means via which we will do this is new firmware UBAML2 released this month.
To follow our guide, make sure the smartphone you’re holding is the Samsung I8190L. In case these steps are applied on a handset that’s a different model, it will be bricked. Samsung’s KIES is another method you can use to upgrade your phone (but use it only if there’s a stock ROM among the specs of your device); that’s thanks to the fact that this new firmware comes with an activated KIES logo.
When the UBAML2 is part of your smartphone, you will notice many new possibilities and options. Such as touch anticipation, group cast, sync and connect email updates, triple buffering all share, pop up play, extended Vsync timing, automatic adjustment for the size of widgets, a new keyboard to use when typing/sending messages to pals and looking stuff up on the Internet, Google Now, mini apps, a fixed frame of 60 fps and free style widget.
But because your phone’s root access will be revoked and the system partition will be deleted, you may not want to update your phone. If you do, though, you will see that the new official firmware won’t mess around with the important data and internal/external SD cards.
Requirements
If you’re aware of the risks surrounding an upgrade but you still want it for your Galaxy S3 Mini GT-I8190L, you must consider these pre-requisites:
- don’t use a laptop that’s running a different OS than Windows;
- no security program should be functioning on the laptop and the handset while you’re performing this tutorial;
- don’t forget to create 2 kinds of backups (a regular and a full NANDroid one, generated with this guide);
- turn on USB Debugging;
- after you find appropriate USB drivers for your tablet, make sure they’re downloaded on the laptop;
- in case your battery is weak, charge it fully.
Step by step instructions
- Your first step looks like this: keep your laptop turned on and look online for Odin (available here) and the Jelly Bean 4.1.2 UBAML2 (, file name: I8190LUBAML2_I8190LZVVAMK2_ZVV.zip).
- Download each of them on the notebook, then save them as well and do this for the next step: boot the phone in Download Mode by pressing and holding, simultaneously, the buttons marked Home, Volume Down and Power, stopping when a display of warning comes up and pressing Volume Up afterwards.
- Go to where the Odin is saved, launch it on the laptop as Admin and do this next: look for the USB cable that ships with the handset.
- After you locate it, take it to establish a connection between the Galaxy S3 Mini GT-I8190L and the second device, then wait to see if the plugging happens.
- It should be successful as soon as the following pop up: an ID:COM box colored yellow and a message that should read “Added!!“. If no such elements make their way on the screen, you should use another USB port altogether or flash the USB drivers a second time.
- Once everything is completed, you can tap BL, select a file with BL in the name, click on AP, opt for a file with AP in the name, tap CP, opt for a file with CP in its name, tap CSC, choose a file which has CSC in the name, tap PIT and choose a file with an extension called .pit.
- Coming up next: wait for a bunch of boxes to appear, then check only three. Here they are: F. Reset Time, Auto Reboot and Re-partition.
- [sc name=”banner-jos”]In order to start the flashing of the new firmware, we recommend you this step: click on “Start“. The installation shouldn’t take more than a couple of minutes, so, when it’s all done, wait until the handset restarts and, after “Pass” is shown in green, do the following: unplug the Galaxy S3 Mini GT-I8190L from your laptop.
- End this guide by opening Settings on the handset, then tapping About Phone and looking for the new UBAML2 firmware.
If you feel like the old ROM was so much better than the new tool, make sure you get it back by using the NANDroid backup file and revoke the update procedure.
There’s a comment field below this post. Use it to leave comments or ask us something you want to know.


