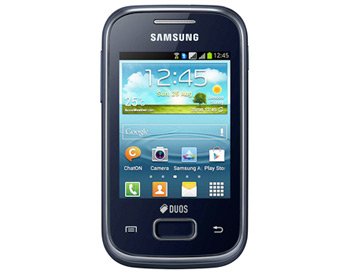
How to Flash Android 4.0.4 VJAMK1 on Galaxy Y Plus GT-S5303B
Galaxy Y Plus GT-S5303B (also known as Pocket Plus Dual) is anticipating an update to a new Android version. This one came out at the end of last month and it’s yours for the taking!
The newest Android 4.0.4 ICS variant is ready to be featured on your smartphone. It will arrive with VJAMK1 firmware which is out for Brazil. Your handset will have this new tool very soon. There are many update options to choose from if you don’t want to follow this guide. Samsung’s KIES is one of them; this method, though, can only be used if the handset has stock ROM.
The improvements
If you don’t use this method, our tutorial will get the update for you. If features all the necessary requirements and steps. But for now, some words on what an update comes with. With the Ice Cream Sandwich 4.0.4 VJAMK1 flashed on the Samsung Galaxy Y Plus S5303B, new features will appear. Other new stuff includes an improved camera and phone number recognition. Screen rotation has received improvement, too. Also, new security options are delivered so that you can protect your data against damage.
If you want to have these novelties, better use the handset that’s compatible with the update firmware. Another model will be damaged if you use the Android 4.0.4 VJAMK1 for its upgrade.
It’s always an update which does damage on a rooted phone. Which is also the case here. Your phone will eventually lose root access and then its system partition will be erased. Not all is lost. You’ll keep all of the important data and internal / external SD cards on the phone will remain where they are.
Prerequisites
We mentioned requirements earlier. They’re here to make sure your device is ready to be updated. Follow them below:
- you should generate backups if you wish to protect your phone’s data;
- also generate a full NANDroid backup, via these instructions;
- enable USB Debugging on your handset;
- the programs which offer protection from viruses need to be turned off on your smartphone;
- same goes for those security programs installed on the laptop;
- USB drivers for this phone are on this page, so go there and download them on the notebook;
- the laptop’s operating system needs to be Windows;
- charge the Galaxy Y Plus Duos GT-S5303B.
Step by step instructions
Here are the steps that follow our pre-requisites.
- The one which begins the procedure indicates the following task: download the latest version of Odin and the (file name: S5303BVJAMK1_S5303BZTOAMK1_ZTO.zip) on your notebook. Save the packages next.
- Then have them extracted; this can be done with either 7Zip or WinZip. Odin v3.09.exe will be among the files that come out after the unzipping. You must now launch it on your notebook.
- Once the launch is completed, your next task is this: start the handset in Download Mode. So be sure to do that by pressing and simultaneously holding Home, Power and Volume Down, waiting for the display to pop up a boot message and finishing this by pressing Volume Up.
- Your next move tells you to create a connection between the notebook and the smartphone. If you want to do this correctly, we recommend the use of your handset’s USB cable. Odin will look for the Galaxy Y Plus GT-S5303B and display this after it sees it: a sign colored in blue.
- You can now follow the next step: add the firmware file to AP / PDA. The action which needs to be performed now is this: check Auto Reboot and then activate F. Reset Time. After you leave Re-partition unchecked, you need to tap “Start“ and then simply wait for the update to finish.
- The smartphone will, after a short while, display a green-colored message which says “PASS“. Then you’ll see the handset rebooting. This confirms the end of the installation period.
- End the procedure with this action: unplug the smartphone from the laptop by removing the USB cable.
- [sc name=”banner-jos”]If you want to see the new firmware and launch it on the phone, do this: tap Settings and About Phone. There you go.
The goodies you looked forward to are now yours for the taking. Have fun with them and decide if they were worth the wait. If they weren’t, use the NANDroid backup file to get the old ROM back. This procedure comes with a disadvantage: when using it, the upgrade gets taken away.
If there are questions you need answered, best leave them in our comment box. You’ll find it under this post!


