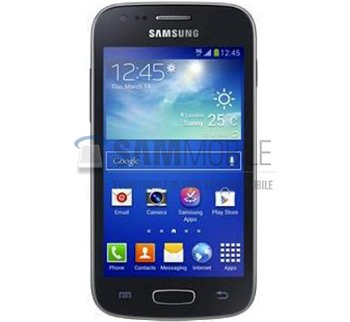
Install Android 4.2.2 UBUANA2 on Galaxy Ace 3 4G LTE GT-S7270L
If you just got your Galaxy Ace 3 4G LTE GT-S7270L and you heard from friends that an update is what you should perform, give our guide a try. With newly released UBUANA2, your handset will deliver an even greater performance.
This official firmware came out last month for Ecuador. It can upgrade your device to Android 4.2.2 for you. But if the handset is rooted, root access shall be revoked. The important data will stay, but the system partition will be deleted. Other elements not damaged by the update: the internal/external SD cards.
Only the Galaxy Ace 3 4G S7270L works with our tutorial. A different smartphone is going to be bricked. After the right model is used for our guide, the presence of the Android 4.2.2 on your device will come with many pros. Some of them are a USB debug white-list, a new set of sounds for wireless charging and a new and improved Gallery app.
Here’s more of the goodies: the possibility to long-press the WiFi and Bluetooth icons in Quick Settings to be able to quickly toggle the on/off state and a new set of download notifications. There are bug fixes when it comes to low battery and also zero security problems for Bluetooth audio streaming.
Using Samsung’s KIES for the update won’t work. You can, however, use OTA if it suits you better than our method. For the OTA, your Galaxy Ace 3 GT-S7270L must be running a stock ROM.
Requirements
The pre-requisites you’ll see below must be followed:
- the only OS that must be running on the laptop is Windows;
- enable, on the handset, USB Debugging;
- USB drivers for the phone are a necessary download on your notebook;
- the battery of your Galaxy Ace 3 LTE GT-S7270L must be charged;
- a standard backup and a full NANDroid one must be performed;
- turn off the security software present on both the laptop and your handset.
Step by step instructions
- Since we mentioned the Jelly Bean 4.2.2 UBUANA2, you need to on your notebook (file name: S7270LUBUANA2_S7270LUWAAML2_ECO.zip). When this is done, go to this page and download, on the same notebook, Odin 3.09.exe. Then use 7Zip for this purpose: the unzipping of the 2 packages.
- The unzipping must be followed by this: take the smartphone and boot it in Download Mode. By pressing and holding Home, Volume Down and Power simultaneously first, then doing this: press Volume Up once you see a screen with a warning on it.
- The next couple of instructions sounds as such: open, on the laptop, the Odin as an Admin; after that be sure to use the phone’s USB cord to establish a connection between the device and the laptop.
- Once the USB cord is used for this step, the Odin will then begin to search for your Galaxy Ace 3 GT-S7270L. When the search is successful, you will be greeted by an ID:COM box in yellow and “Added!!“. If you aren’t, the plugging should happen again. Only this time, be sure to flash the USB drivers once more on the notebook. Another option is the following: use another USB port.
- In case you don’t have to perform one of the previous methods, you can move on. As such, continue by tapping BL, opting for a file with BL in the name, tapping AP, choosing a file with AP in the name, tapping CP, selecting a file with CP in its name, tapping CSC, oping for a file which has CSC in the name, clicking on PIT and choosing a file with an extension containing this: .pit.
- Following these actions, you need to check F. Reset Time, Auto Reboot and Re-partition. Now you should tap “Start” and then just wait until the UBUANA2 firmware gets installed on the handset.
- The end of this procedure will make your phone reboot automatically; you will then see a message that will say “Pass”.
- [sc name=”banner-jos”]This is how you’ll know that the flashing is over and that you should do this: disconnect the Galaxy Ace 3 4G LTE GT-S7270L from your notebook. As soon as you’re done with the unplugging, the new stock ROM still needs to be tested. So launch it by tapping the following: Settings and then About Phone. Now concentrate on testing the new firmware.
Once you’re done with this, the UBUANA2 may not be to your liking. If that’s what’s going on, the quickest solution is to restore the previous ROM. This will be the case if you use the NANDroid backup file.
The box below this post is ready for your questions and comments!


