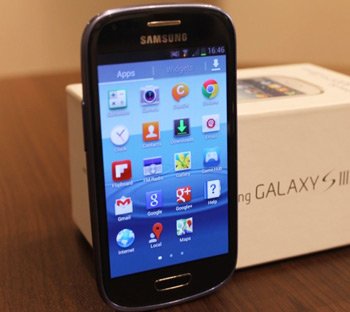
How to Flash Android 4.1.2 UBAND1 on Galaxy S3 Mini GT-I8190L
Galaxy S3 Mini GT-I8190L is all set for something new. What better for your smartphone than the popular Android 4.1.2? Through an update, this operating system will become an important part of your handset.
If your handset gets a taste of the new OS, not only will it perform better but it will also go through customization changes and so on. Many of these novelties are detailed here. So here you go: mini apps, a fixed frame of 60 fps and group cast are the first to appear.
Next up are free style widget, a new keyboard and touch anticipation. Your smartphone’s also getting sync and connect email updates together with pop up play. Google Now, triple buffering, all share and extended Vsync timing as well as automatic adjustment for the size of widgets are the goodies that end this list.
The novelties
To enjoy the advantages delivered by the Jelly Bean 4.1.2, your phone needs to have UBAND1 official firmware as part of its specifications. This firmware came out for Mexico (Telcel) recently. But it can be used only on the Galaxy S3 Mini GT-I8190L.
If the smartphone you’re using for this guide boasts root access, by the end of our post it won’t have it anymore. The device will also be devoid of its system partition. No damage will be done to the handset’s internal / external SD cards and its data will still be on it by the end of the upgrade.
The firmware’s KIES logo is activated. In other words: you are allowed to make use of Samsung’s KIES. But only if the smartphone contains stock ROM by default.
Prerequisites
Underneath you’ll find all our requirements, so use them to prepare for the update:
- the battery of your handset has to be charged if its power levels are low;
- be sure to have the option USB Debugging activated on your Samsung GT-I8190L;
- the handset’s security programs must be deactivated;
- the ones sported by your laptop need to be turned off;
- your laptop should have Windows as an operating system;
- on this page you will find USB drivers for the handset. They must be download on the laptop;
- perform a standard backup;
- generate, next, a full NANDroid backup.
Step by step instructions
- It’s a good idea to have these downloaded on your notebook: the and Odin v3.09, from this page. 7Zip should be used to unzip them. The next step tells you to open Odin v3.09.exe on your laptop and then to enter the handset in Download Mode.
- The secret of doing this the right way is in the following actions: press and hold Home, Power and Volume Down simultaneously, then press Volume Up if a boot message welcomes you next.
- The smartphone has to be plugged to your notebook. Its USB cable is going to be helping with this step. After you do this, allow the Odin some time to search for the phone.
- Once it has located it, you will see a sign in blue on the screen announcing you that the devices are connected successfully. After you add the firmware file to the AP / PDA, tick both Auto Reboot and F. Reset Time. Re-partition is one of the boxes which doesn’t have to be checked, so make sure you uncheck it now.
- When all of the previous steps are completed, your smartphone should be ready for the Android 4.1.2 UBAND1 firmware. Begin the latter’s installation phase next by tapping this option: “Start“. The whole procedure won’t take more than 15 minutes.
- After you’re done waiting for the flashing, your phone’s going to alert you about the completion of this process by way of two things. First, a “Pass” message will become available in a green background.
- Next sign: the handset is going to quickly restart. Your task, after the device is done with these, is to make sure the phone and your notebook aren’t plugged to one another.
- [sc name=”banner-jos”]When you’ve checked that the USB cord is not connecting them together, tap Settings on the Galaxy S3 Mini GT-I8190L, then tap About Phone.
After you get accustomed for a bit with the Jelly Bean 4.1.2, the novelties of this OS can become disappointing. And you may want the old ROM restored. If the latter is what you wish for, use the NANDroid backup file which will revoke the update.
We have a comment box underneath this tutorial. Leave all your questions there.


