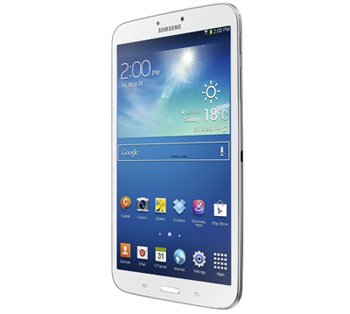
How to Install Android 4.1.2 UBAMH1 on Galaxy Tab 3 7.0 SM-T211
The OS your Galaxy Tab 3 7.0 SM-T211 currently sports can be turned into the latest Android 4.1.2. How? Find out the answer below!
The Jelly Bean 4.1.2 will become your tablet’s main operating system via an update. This procedure, though, will need special firmware for that. Peru, Chile, Colombia, Uruguay, Brazil, Panama and Trinidad & Tobago owners of the Galaxy Tab 3 7.0 T211 will need to install UBAMH1 to get access to the latest Android version; the new firmware was released this month for the two countries.
For this upgrade, you will need your Galaxy Tab 3 7.0 SM-T211. Don’t install the new firmware on another tablet; it will be bricked. The UBAMH1 official firmware which was released for Peru doesn’t have an activated KIES logo, which is why you should update the tablet with this tutorial or OTA via the Software Update button under Settings menu.
The variant for the rest of the countries has its KIES logo turned on, so you can choose to use Samsung’s KIES for the procedure. For both the OTA and the KIES methods, your device must come pre-installed with a stock ROM.
The new firmware will be responsible for the following novelties: a fixed frame of 60 fps, group cast, Google Now, sync and connect email updates, all share, pop up play, extended Vsync timing, automatic adjustment for the size of widgets, a whole new keyboard to use in your daily chores, touch anticipation, mini apps, free style widget and triple buffering.
But there are certain things that will affect your tablet if it’s rooted: the system partition of your gadget will be erased and the root access will be gone. The important data, however, and the internal and external SD cards won’t have to go through that.
Requirements
The group of requirements below must be followed through:
- the battery running on the Samsung SM-T211 must be fully charged;
- the notebook you’re working with should have USB drivers compatible with the tablet downloaded on it;
- the tablet and the notebook both feature security software which must be disabled for the duration of the tutorial;
- your tablet’s important data must be backed up, so create backups (a standard and then a full NANDroid one);
- the operating system featured on your laptop should be Windows;
- the tablet must have USB Debugging turned on.
Step by step instructions
If you’ve finished with the tasks above, move on to the steps which will update your tablet.
- The first set of guidelines will have to go like this: search for the Jelly Bean 4.1.2 UBAMH1 official firmware and Odin online (available here) , then download each of them on the laptop. You will find the compatible files here (by country and carrier): , , (), , ( and ), and .
- Your next task will need you to unzip the packages with WinZip or WinRar, then be careful to do this in order to boot the tablet in Download Mode: press and hold, at the same time, Volume Down, Home and Power; as soon as you are shown a screen containing the logo of Android and a warning, you should press Volume Up.
- After these actions comes the next step. It will tell you to open, on the laptop, the Odin as Administrator. Once this is launched as instructed, you need to concentrate on the following: tap BL next, select a file with BL in the name, click on AP, opt for a file with AP in the name, tap CP, opt for a file with CP in its name, tap CSC, choose a file which has CSC in the name, tap PIT and choose a file with an extension called .pit.
- Once you’ve finished doing everything as planned, time to check the boxes labelled Auto Reboot, Re-partition and then F. Reset Time. The UBAMH1 can now be installed on the Galaxy Tab 3 7.0 SM-T211. When you’re ready, tap “Start” and stand back while the flashing is underway.
- [sc name=”banner-jos”]After a few minutes of waiting, the tablet is going to start again and a message should be displayed. It will appear in a green background and it should say “Pass“.
- When it comes on the touchscreen, you will have to disconnect the Galaxy Tab 3 7.0 SM-T211 from your laptop.
As soon as there’s no USB cable to connect your two devices, you should try and see whether or not the new firmware is everything you dreamed of. If it’s a nightmare, you can return to the old ROM by using the NANDroid backup you had to create before.
If you encounter various problems and you have questions, you should use the comment field below.


