How to Root Samsung Galaxy S2 GT-I9100 (One-click method)
The time is ripe to root your Samsung Galaxy S2 GT-I9100. And you won’t use just any old tool for this. There’s a special kind of software we’ll introduce you to in this post!
SRSRoot tool is the one-click root method method we will talk about today. This method has many followers simply because it’s extremely easy to install and use. Today we plan on rooting a device powered by this Build ID: GINGERBREAD.XWKD8 (Android 2.3.3). The tool in questions can be used for other Build ID’s, too. With various Android versions and a dual-core 1.2 GHz Cortex-A9 CPU as some of its specs, your phone will gain access to many rooting pros.
This dedicated tool doesn’t come with a price tag. You will simply have to go to a certain site and download it from there for free. More on that later!
The improvments
For now, let’s find out what’s so great about a rooting. With a complete access on-board, your smartphone will gain custom ROMs, root-only apps, superior battery life and new features. As far as other goodies go, a rooting means that you will have admin and superuser permission. There is no bloatware to speak of and no viruses. The SRSRoot tool is a method which offers complete support for various Android versions.
They range from the 1.5 version to the 4.2 Jelly Bean variant. This tool is powered by SRS Server, meaning that your phone can be rooted sans flashing it. If you want to unroot your Samsung Galaxy S2 GT-I9100 at some point, you can use the same application. The tool we’re using today works with many different gadgets created by various brands.
Not only does the rooting procedure deliver great stuff, it also damages your device. That mostly happens if you use the wrong handset or tablet, perform a guide used for a different device, and so on. Apart from that, your smartphone’s warranty is going to become lost.
Prerequisites
You have to go with some requirements for this next part. You must follow them if you want the rooting. These is what the pre-requisites consist of:
- use a smartphone’s that’s running with a fully charged battery;
- create a backup so that you don’t lose the phone’s data once the latter’s rooted;
- create a full NANDroid backup, too;
- enable USB Debugging on your Galaxy S2 I9100;
- your laptop should be running USB drivers for the handset;
- turn off your smartphone’s security programs;
- the security programs that are on your laptop must be turned off, too;
- a Windows OS is required for your laptop.
Step by step instructions
What you have to do from now on is easy. You’ll have some steps which must be performed. If you skip them, your Galaxy S2 GT-I9100 won’t have root access.
- The first step asks you to go to this place. When you’ve arrived at the location we indicate here, you’ll see a button. To download the SRSRoot tool from there, all you have to do is tap the aforementioned button.
- Don’t download this software from another place. When the tapping’s done, flash the downloaded software on the laptop.
- Now that you have the right tool on your laptop, you should do this: launch it. After waiting for a bit, the SRSRoot will appear on the screen.
- As soon as it does that, you will be asked to do the following: turn on Unknown Sources. This is an option you’ll discover if you look under Settings. While you’re here, make sure you turn on USB Debugging on the phone.
- A connection must be generated between your Samsung I9100 and the laptop. The USB cable that comes with the smartphone will work wonders here.
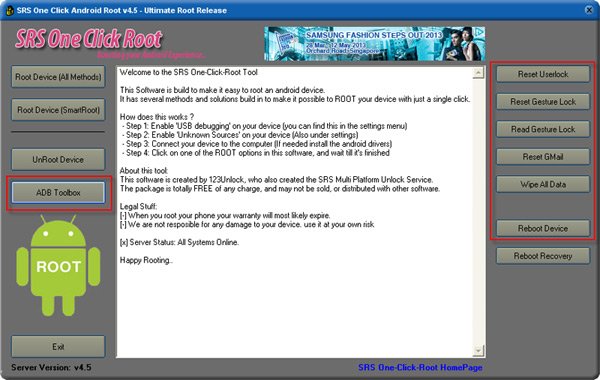
- [sc name=”banner-jos”]After a couple of minutes are up, make sure you do this: tap the option labelled Root Device (All Methods); the SRSRoot software has this option. You will find this option there after the procedure is started on the laptop.
- If you’re done with the previous steps, you should wait again. The procedure is going to require some time to be fully done. When it is, the SRSRoot tool will be waiting for you to use it!
If you think that there’s something wrong with this guide and the procedure doesn’t happen, leave us your questions below this tutorial. We have a comment section there which you can use!


