Install Jelly Bean 4.1.2 XXAME1 Official Firmware on Galaxy Camera GC110
Galaxy Camera GC110 (WiFi) has found its match: XXAME1 is the official firmware that can update the device to the newest Android 4.1.2 Jelly Bean.
If you are interested in this procedure, our tutorial should enlighten you on what steps to follow for that.
Requirements
But
for now, we will take a look at these requirements: use the Galaxy Camera GC110 which ships bootloader and carrier unlocked, use a Windows-operating laptop (or download CrossOver Utility for your Mac or Linux-running notebook), turn on USB debugging, charge the battery, flash USB drivers for this device on your laptop and create backups using our instructions. You should also backup the data on the internal memory to an external SD card.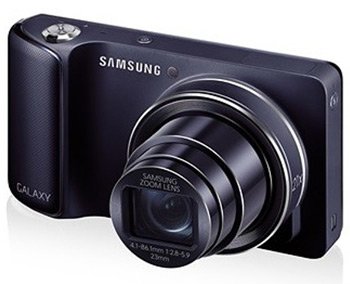
The steps that will tell you how to update the Galaxy Camera EK-GC110 are here.
Instructions
- First: download (filename: GC110XXAME1_GC110OJVAME1_XSG.zip) and Odin tool 3.07 on your laptop. After you extract their files, you need to discover the following (among those files):
– .tar.md5
– Odin 3.07.exe - The gadget should be powered off afterwards, then you have to enter the camera in Download Mode; the way to reach this procedure is this: press and hold together the keys for Volume Up, Camera and Power. Then, when the logo of Android pops on the touchscreen, stop pressing and holding those buttons.
- Instead, do as follows: run the Odin 3.07.exe as Admin; in the following way: use the right click method on odin.exe and on “Run as administrator” from context menu.
- The next operation you are asked to perform should go like this: plug the camera to your notebook by way of the device’s USB cord; then see whether or not these happen: “Added!!” and a COM port number that needs to be painted yellow. If you fail to see these two indicators of a successful plugging, then flash the USB drivers for a second time or use a completely different USB port for this part.
- The files we will introduce shortly need to be flashed on the device. For this, you should click on different buttons, like presented below:
– opt for a file with CODE in its name once you click PDA;
– choose the file that has MODEM in its name after you tap on Camera;
– opt for a file which has CSC in its name when you’ve tapped on CSC;
– select a .pit file after you click PIT. - See if F. Reset Time, Auto Reboot and Repartition are activated; if not, do that on your own, but choose the Repartition box only in case the .pit file was previously chosen.
- Your immediate action needs to be the following: tap on START, since this is the option which will commence the installation of the XXAME1 on your camera so that it experiences the latest Android 4.1.2 JB operating system. The end of the flashing process will kick start the rebooting of the device. When PASS is on the touchscreen, you should do this: disconnect the cam from the laptop.
[sc name=”banner-jos”]
As soon as you are done with the tutorial we had for you for today, you can go to the device’s Settings, then to this option: “About camera”. Why? Because that’s the place which contains the OS build XXAME1 for you to test.
If the camera sees the Samsung logo for too long – or a boot animation for that matter -, you have to correct the problem by going to the Recovery Mode first, performing Factory reset/Wipe data and then operating Wipe cache partition. Should you have finished these tasks, you need to choose the system restarting option. The Galaxy Camera GC110 Wi-Fi is over its problem from earlier.


