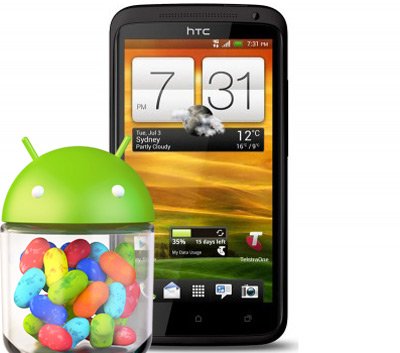
Update HTC One XL to Nocturnal’d Dirty Elements Jelly Bean 4.1.2 Custom ROM
A rather unexpected custom ROM will be part of your HTC One XL: Nocturnal’d Dirty Elements Android 4.1.2. But, while this tool may not be as well-known as others, you can bet it will improve your smartphone in many ways.
What you should expect from this custom ROM is presented now: Sony Bravia Engine, Sony Walkman, Sony xLoud and many other original features. The tool itself is based on CM10 and AOKP, the newest versions that is. All of the new tools will enhance how you experience multimedia on your device. The performance will also have a lot to gain once you install the new ROM on your phone.
Requirements
Before we get to the heart of things, we will first have to announce the following requirements:
- root the HTC One XL using this guide;
- install, on it, a custom recovery, available here;
- install, as well, USB drivers for it on the laptop or comp you use, from here;
- turn on USB Debugging;
- use the factory unlocked version;
- create backups via this tutorial;
- configure Fastboot and ADB;
- charge your device’s battery.

Instructions
- What we need from you for the first step is to download Google Apps from here and the on your notebook. Then extract the content of the latter and you will have to remain with a boot.img file afterwards.
- Continue with these actions: plug the phone to the laptop and then transfer the Google Apps and the other zip file to the smartphone’s SD card root. After that, make sure you also move the boot.img to a folder named android-sdk-windowsplatform-tools.
- Switch the HTC One XL at the end of this second transfer and then enter your phone in Fastboot Mode by way of this guide: power the handset on while pressing + holding Volume Down and Power together.
- If you are done, go to the android-sdk-windowsplatform-tools and, once there, do this: launch a Command Prompt and then type in
fastboot flash boot boot.img
Press Enter next, then be sure to enter
fastboot reboot
and press Enter when you finish. - A bunch of instructions should come on the display; follow them. Opt for “Bootloader“, go to “Recovery” and then choose this option that will erase the data on your smartphone Factory Reset/Wipe Data.
- You will then have to wipe the phone’s cache, too. Do that by opting for Wipe Cache Partition. Stay in the Recovery next. Then go to Advanced; after that, choose Wipe Dalvik Cache and return to the Recovery screen when you are done.
- [sc name=”banner-jos”]Then opt for Install zip from SD card and select Choose zip from SD card. Once these steps are done, you should go, with the buttons for Volume, to the new ROM zip file; when you see it, you have to use “Power” to choose it; now you can confirm the file’s flashing.
- Wait for the file to settle on your phone, then do the same steps for the installation of the Google Apps.
- Now that your handset has the two files it needed, you should go to +++Go Back+++. The HTC One XL is now in need of a restart, so look for the rebooting option in its recovery menu and choose it. The smartphone has just received the Nocturnal’d Dirty Elements Jelly Bean 4.1.2 based custom firmware.


