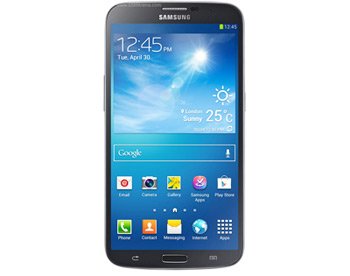
Install Jelly Bean 4.2.2 XXUAMF1 Official Firmware on Galaxy Mega 6.3 I9200
Galaxy Mega 6.3 I9200 will hit it off at once with XXUAMF1 Android 4.2.2 official firmware, especially since this is the tool you should use to update your smartphone.
Requirements
Watch us as we continue the tutorial by including a list with all the requirements leading to a successful update:
- turn on USB Debugging on the Galaxy Mega 6.3 GT-I9200;
- make backups, as usual;
- download and flash USB Drivers for the handset on your notebook, from this place;
- use the Galaxy Mega 6.3 I9200 that’s factory unlocked;
- charge the battery on the phone.
The fact that we are using firmware which is official means the following: your phone is going to no longer offer root access. So all the root-only apps and such installed on your handset will not work anymore. To make them do that again, you need to root your device again. So find a tutorial which teaches you the correct way to do that.
For the rest of the guide we are set to show you what steps to follow for the update.
How to flash XXUAMF1 on Galaxy Mega 6.3
- And we will start with these bits of important info: the first task to accomplish is to download (file name: I9200XXUAMF1_I9200OXEAME4_SKZ.zip) on the laptop.
- You will now need a second file on the device: Odin tool 3.07, so flash it on the notebook. The only package you should unzip after it’s downloaded is the Android 4.2.2 JB I9200XXUAMF1 one.
- After the process of unzipping it is over, you should power the handset off and boot it into Download Mode by:
– press + holding Volume Down and Home simultaneously;
– press Power after that;
– Android and its logo will pop on the screen;
– press Power. - After you take a look at the USB Drivers you flashed on your notebook, you have to launch Odin on it and then do this: plug the Galaxy Mega 6.3 I9200 to the PC and have patience while the smartphone is located; as soon as it is, a message that reads “Added!!” and an ID:COM box shall be displayed in yellow (and you will also see a COM number, which is the port).
- If the connection between the devices fails to happen, we recommend you to follow one of these options (or both if one of them does not yield the expected results):
– install those USB Drivers once again;
– this time use another USB port. - Then you will have to click or tap on various keys which will make you opt for certain files. The exact maneuvers are shown below:
– tap PDA;
– wait for a file with CODE in it to appear;
– choose that one;
– tap Phone;
– a file bearing MODEM in its given name shall be displayed;
– opt for it;
– click on CSC;
– choose a file that has CSC in the name;
– tap PIT;
– choose a .pit file then. - [sc name=”banner-jos”]There is nothing wrong with your phone if it does not show the files above. So move on to the next step:
– select F. Reset Time;
– choose Auto Reboot;
– opt for Re-partition only if the .pit file was opted for. - The flashing will begin once you tap START and then wait for the procedure to finish. The installation being over, the smartphone is going to restart pretty soon, which is the right time to wait for its home screen to be displayed.
- That will tell you that it’s time to disconnect the handset from your comp. From this moment on, your Samsung I9200 is updated to a better OS thanks to the Jelly Bean 4.2.2 build XXUAMF1 firmware. The only place that holds this update is your device’s “About Phone“.


