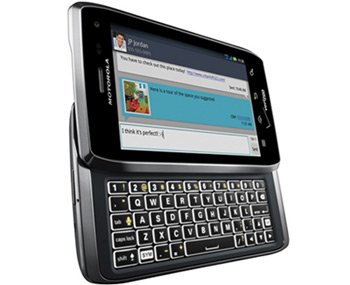
Update Motorola Droid 4 XT894 to CM10.1 RC5 Jelly Bean 4.2.2 Custom ROM
A developer recently put together a custom firmware which is able to update your Motorola Droid 4 XT894 to the newest version of Android Jelly Bean. And we are using this very firmware, called CM10.1 RC5, in our post today.
The CM10.1 RC5 has the following offerings for the user of this phone: safety against bugs, stability and an all-around great performance.
Requirements
Your only concern now after this out is to look at the following requirements and do as they say: use the Droid 4 XT894 that is bootloader and carrier unlocked, turn on USB debugging, flash the USB drivers which work with your smartphone on your laptop, charge the handset’s battery, create backups of its content and backup the data on its internal memory to an external SD card. Then download these bunch of files on your PC:
- (the file is labelled cm-10.1.0-RC5-maserati.zip);
- Google Apps (you must select the latest version of the file, labelled gapps-jb-20130301-signed.zip).
How to install CyanogenMod 10.1 RC5 on Motorila Droid 4
- The download of the zip files above needs to be followed by you plugging your smartphone to your notebook and then transfer both packages from your laptop to the SD card inside the handset. The contents of the zip files need to be left as they are.
- Unplug the devices from each other at the end pf the transfer. Switch the Droid 4 off now. Enter the phone into Safestrap recovery like this:
– press Power;
– wait for the smartphone to come to life;
– wait for the handset’s Motorola splash display to come;
– look around for the Safestrap screen to pop.
If the latter displays the Safestrap Disabled option in red, Recovery on the bottom left and Continue at the bottom right, then you should click the Recovery key on the Safestrap main screen. This is going to boot the phone into the mode we told you about. - When you are finished with the earlier actions, you will have to operate certain tasks which shall wipe your phone’s system.
- Commence by choosing Factory Reset/Wipe Data, continue by opting for “Yes”, then go back to the Recovery Menu where you need to choose Wipe Cache Partition and then Wipe Dalvik Cache.
- Time now to opt for Install zip from SD card. The following option will also have to be selected: Choose zip from SD card.
- As soon as you spot the CyanogenMod archive, you will be asked to flash it on the Droid 4 XT894 by choosing it with the button called Power. Wait for the zip file to finish its flashing, then do the same for the Gapps package file.
- Make sure you are back in the Recovery Menu for this part which tells you to choose the phone’s restarting option. After a couple of minutes, the handset will have booted into the CM10.1 RC5.
[sc name=”banner-jos”]
NOTE: The phone may or may not show a “Status 7 error”. If that happens, you need to make sure your smartphone has a compatible kernel installed before you flash the custom ROM we used in this guide. But, if your device chooses to experience a boot loop or it remains stuck in a logo, then you have to perform the following:
- Wipe Cache Partition;
- Wipe Dalvik Cache;
- Reboot the handset.
The smartphone can get back to its old ROM only if you do as follows: go to the Recovery Mode, opt for Backup&Restore, choose the ROM you want from a list.
You are now able to see what the updated Motorola Droid 4 XT894 is capable of doing now that it has the newest Android 4.2.2 Jelly Bean custom ROM.


