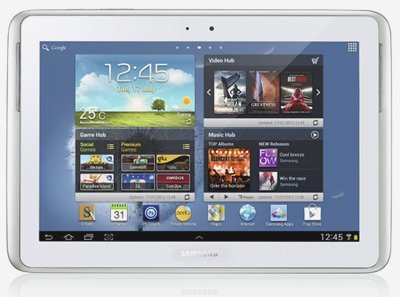
Upgrade Galaxy Note 10.1 GT-N8013 WiFi to UEUCMD3 Jelly Bean 4.1.2 Official
Galaxy Note 10.1 GT-N8013 WiFi follows the route of tutorials on our website. We opted for this Samsung tablet because we have a way to let you know how you can update it to Jelly Bean 4.1.2 in a painless way, using the UEUCMD3 official firmware.
Requirements
To start this guide the right way, you need to first use the factory unlocked model, enable USB debugging, charge its on-board battery, use a Windows-running notebook/PC (or install CrossOver Utility if it runs either Mac or Linux), flash USB Drivers for the tablet on your laptop and make a backup via one of our guides (the internal memory content should also be backed up to the gadget’s external SD card).
Important instructions
- For all intents and purposes, the first step of today’s tutorial requires the following: download and Odin tool 3.07 on your laptop; after having said that, we should add that you also have to unzip their contents until you are left with files among which you need to spot these two: .tar.md5 and Odin 3.07.exe.
- Step two will come afterwards and ask this: switch your Galaxy Note 10.1 N8013 off and now enter it in Download Mode; which must be performed like this: press and hold Power and Volume Up, stop when Android’s logo appears, then press Volume Up.
 Run the Odin tool 3.07.exe as Admin from this mode; how: select the Odin executable file then use the right click option then choose Run as administrator when you are in Windows.
 - Up next is step number three for which you need to plug the N8013 to your computer and wait for the devices to register a successful connection to one another; this is how you will know it worked: look for a message that says “Added!!” and a number (the COM port) whose color will be yellow. If this does not go as planned, then you should install the USB Drivers we mentioned or use a different USB port. Now opt for some files that will pop on the display if you click on certain buttons. Here’s how to do it all:
– click on PDA and look for a file with CODE in its name;
– click on Phone and a file with MODEM in its name should be spotted;
– click on CSC and watch as a file with CSC in its name will appear;
– click on PIT and wait until .pit is seen on the screen.
Don’t break into a sweat if you see neither of the files presented above. - Ignore what we wrote and follow step number four: opt for F. Reset Time and then for Auto Reboot check boxes. Repartition is another check box which should be chosen, but only if you went for the .pit file earlier, then be sure to tap Start and continue with the fifth step.
- Which says the following: the installation of the firmware will begin shortly and afterwards you will see that the tablet starts to reboot.
- [sc name=”banner-jos”]A message reading PASS and a green background will come on-screen.
- Make sure to unplug your N8013 WiFi from your laptop.
The next guide applies only if your Galaxy Note 10.1 GT-N8013 happens to be stuck in either Samsung’s logo or boot animation. Step one to remedy this: go to recovery mode, initiate a complete Factory reset/Wipe data process, then start a complete wipe cache partition and opt for the system restarting.


