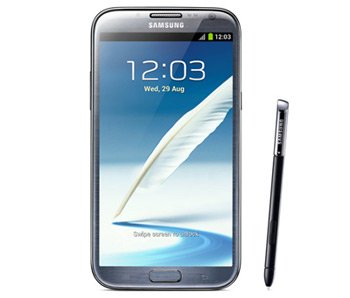
How to Update Galaxy Note 2 GT-N7100 to Android 4.1.2 UBDMH1
Since Galaxy Note 2 GT-N7100 has new firmware UBDMH1 to look forward to, we’ll let you know how to have this tool installed on your smartphone.
The new tool, which came out this month, was launched in order to upgrade the Galaxy Note 2 N7100 to Android 4.1.2. This official firmware has been released for Argentina, the Dominican Republic and for Uruguay (so far).
The best way to update your smartphone is to use the model we mentioned; a different brand will be bricked. Thanks to the fact that the new firmware comes with a KIES logo which is turned on, you can make use of Samsung’s KIES. If you want that, you should have a stock ROM already running on your handset.
The novelties
Along with the update, your Galaxy will gain these novelties: touch anticipation, mini apps, extended Vsync timing along with a new keyboard. The new stuff you’ll get to experience also includes free style widget, pop up play, triple buffering and Google Now. The other great stuff you’ll enjoy: group cast, automatic adjustment for the size of widgets, a fixed frame of 60 fps, all share and sync and connect email updates. We didn’t deal with security programs while testing the new firmware out.
For those of you whose smartphone is rooted, know this: the upgrade will damage some things. The system partition is one of them. The second is root access, which will be revoked shortly. The internal and external SD cards will not be affected; neither will the important data stored on your smartphone.
Requirements
From here on, you need to comply with these pre-requisites:
- we must ask that you use only Windows as your notebook’s OS;
- download USB drivers fit for your handset on the laptop;
- go on and fully charge the battery of your Galaxy Note 2 GT-N7100;
- disable both the notebook’s and the handset’s security programs;
- make backups;
- create a full NANDroid backup via this detailed guide;
- enable, on the smartphone, USB Debugging.
Step by step instructions
- The first action to perform for the guide: find the Jelly Bean 4.1.2 UBDMH1 , and for and download it on the laptop. Look for Odin here and download it on the same device, too.
- Then choose either 7Zip or WinRar to extract the two packages. When their contents are on your notebook, you can enter the handset in Download Mode. Like shown here: simultaneously press and hold down Volume Down and Power, release them once the Android logo and a screen of warning come up, after which you need to press Volume Up.
- Open Odin as an Admin on the laptop for now and then establish a connection between the Samsung GT-N7100 and your notebook. For that, we advise the use of the phone’s USB cable.
- When the screen welcomes you with a yellow ID:COM box and then a message that says “Added!!”, you will be able to move on with the update. But if you don’t see those: try and use another USB port. Or try and flash the USB drivers again.
- We then advise you to perform these tasks: tap BL, opt for a file with BL in the name, tap AP next and after that choose a file with AP in the name, tap CP, opt for a file with CP in its name, tap CSC, choose a file which has CSC in the name, tap PIT and opt for a file that will have an extension with .pit in it.
- Once the necessary instructions have been followed, you should activate Re-partition, F. Reset Time and then tap Auto Reboot. Now you should begin the actual upgrade.
- This will only happen if you go to “Start” and tap it. The UBDMH1 will shortly join your smartphone. The flashing will end when the Galaxy Note 2 GT-N7100 reboots and “Pass” comes up in a green-colored background.
- [sc name=”banner-jos”]As soon as the installation is over, you need to take the USB cord out so that the devices aren’t glued to each other. After you disconnect the smartphone from the notebook, be sure to tap Settings. After that tap About Phone and have fun with the newly installed UBDMH1 firmware.
In case you’re pining over the previous ROM because the new one isn’t awesome, restore the old one with the NANDroid backup file. However, you will lose the update because the process will be revoked.
Questions? Leave them under this post and we’ll get back at you.


