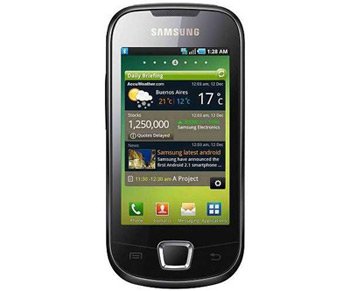
Root Samsung Galaxy Apollo i5800
Not being able to root your Samsung Galaxy Apollo i5800 is now a thing of the past. As are tutorials which are very hard to perform. We have a guide that, we think and also hope, will be easy to follow even if you’re not experienced.
The steps which we included in it are meant to provide a way in which your smartphone can get rid of its old Android 2.2 Froyo operating system and instead welcome a new version that has plenty of attributes.
At the end of this tutorial you can actually discover new ways of enjoying your device via changes to the system files and so on. More than that, a rooting procedure is known to transform a device, be it a tablet or a smartphone, into a better performer than it was before.
Requirements
The
rule of every guide on the Internet is that you can’t begin following its steps if you haven’t first checked out all of the requirements it comes with. Here are our pre-requisites: install, on your Windows-running laptop, USB Drivers for this phone, make a backup using this guide and charge its battery. The warranty of the Galaxy Apollo GT-i5800 is bound to reappear on your handset if you unroot it. We have a guide for this exact procedure right here on our site.
Important instructions
- The beginning of our tutorial on how to root your i5800 is like this: download, on the laptop you have close-by, a file called . The exact place this file should be in is the laptop’s desktop. Don’t download it anywhere else.
- Once you are done with this, you will have to extract all of the files that are inside the SuperOneClick on the same desktop for the second step. Then follow this operation up with another one; here is how this one looks like: turn on, on your Galaxy Apollo, an option you will see labelled as USB debugging. To turn this one, you will need to do as follows: go to the Menu, opt for Settings, look for Applications and select it, then choose Development and look for the USB debugging; when you’ve spotted it, it’s time to opt for it.
- [sc name=”banner-jos”]After the option is enabled on your smartphone, the next step, the third one, will require you to take the Galaxy Apollo and its USB cord, then use the latter to create a connection between the Apollo and your comp. The second you see the devices intertwined, you will be told to do the following: look for the SuperOneClick executable file, then use your mouse to double-click on it when you spot it.
- As soon as the file is open, you should proceed to step number four; this step is here to ask you to hit, in the app, the button called Root. Now have some patience, because the smartphone will go into a rooting phase which is going to need a couple of minutes (or seconds, it depends).
Your Samsung Galaxy Apollo i5800 is now a rooted phone. Time to give it a spin and see what a rooting procedure brings new to the whole user experience.


