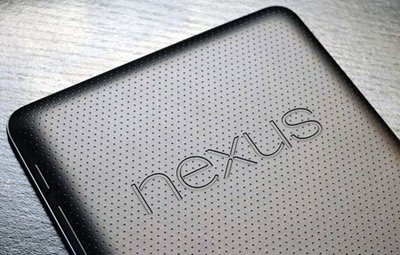
Update Google Nexus 7 (2012 Edition) to Official Jelly Bean 4.3 JWR66V Firmware
Your Google Nexus 7 (2012 edition) tablet is short on one thing: official Jelly Bean 4.3 JWR66V firmware. The lack of such an update is preventing your gadget from getting in touch with its inner greatness that you have no idea about. Yet. The guide will bring that up to the surface.
To avoid a tutorial that will go berserk, you need to give your full concentration to the requirements and then to the steps that are all part of today’s guide.
A piece of info now: the Google tablet you are holding in your hands right now will be able to own all the great features that come from the Android 4.3 OS (the latter is going to also offer a default Nexus 7 2013 version for you to enjoy to the max).
Requirements
The next couple of lines will give you the pre-requisites this tutorial has to deliver. So here they are:
- go to the tablet’s Settings to see if Google sent an OTA update for the tablet (because if it did, then you shouldn’t follow this guide);
- make a backup of the gadget’s important data, via this tutorial;
- turn on USB Debugging on the Asus Nexus 7 (that will have to be done by going to Settings, choosing Applications, then opting for Development and looking for the USB Debugging);
- charge the tablet’s battery unit.
For those of you who are done with the requirements by now, you can now follow the steps we have for you just below.
How to flash JWR66V on your Asus Nexus 7
- Find and after that open your laptop. Download and save that package on it. Then find a tool which you normally use for unzipping processed; create an “Android” folder and use it to extract that package on the laptop.
- Now unpack the archive called .tgz (.tar/.gz); make sure you don’t use “flash-all” for this operation. You need to also unpack the zip inside that archive and after that wait for the components of the archive to be ushered into a sole folder instead of several.
- Install ADB on the laptop. After the flashing is done, you should do this: plug the tablet to your notebook; the tablet comes with a USB cord which can be used for the plugging.
- Having said that, the next step to complete is this one: launch, on the PC, Command Line; when you are done, type in some commands which will make the gadget enter Fastboot Mode:
adb reboot bootloader

                    fastboot flash bootloader bootloader-grouper-4.23.img

                    fastboot reboot-bootloader

                    fastboot flash system system.img

                    fastboot flash boot boot.img

                    fastboot format cache

fastboot reboot - After you have entered all seven commands as listed above, you have to be cheerful from this moment on: your Asus Nexus 7 (2012) is updated with the official Jelly Bean 4.3 JWR66V firmware!
- [sc name=”banner-jos”]If you have no idea where this blessed firmware is right now: go to your tablet’s “Settings” and then just open “About Device“. You will quickly be shown this update tool we used so that you can experience all of the goodies it has to offer.
NOTE: As long as you have done all your best to follow the steps in the guide, everything will go smoothly. But every so often, something may put you off. Something which may be your gadget being stuck in “Welcome” or in boot loop. Salvation comes from the following tutorial:
- power the tablet off;
- power it back on;
- go to the beginning of the guide and follow all the steps from there on again.


