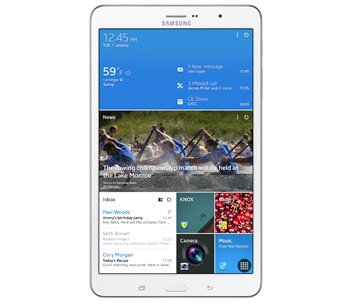
How to Update Galaxy Tab Pro 8.4 SM-T320 to Android 4.4.2 ZCU1ANC4
With an updated Galaxy Tab Pro 8.4 SM-T320 come things you never knew existed. They have only one purpose: to improve the way your tablet functions, feels, looks and so on. If we sparked your interest, discover how to update your gadget by staying on this page!
The Android version that you’ll get to use on your tablet is the 4.4.2 KitKat one. It came out not too long ago for China and you can have it by using this new firmware: ZCU1ANC4.
If you were expecting an activated KIES logo to feature on this firmware, you will be disappointed. There isn’t one. But you can, if you don’t particularly enjoy following guides, use OTA. The thing with this method is that it needs a device with stock ROM. If your tablet doesn’t run this special ROM, our tutorial can be used instead of the other update method.
The Android 4.4.2 KitKat that’ll become part of your tablet has some very nice new features on-board. They include customization options, ways to improve battery life and much more. The new OS version doesn’t arrive with major bugs.
To end up with the KitKat variant, the tablet you use must be the Galaxy Tap Pro 8.4 SM-T320. If the name of your gadget is different than the one we advised you to use, our guide will brick it. If the device contains root access, the latter will be revoked from it by the end of this upgrade. System partition is the second element to be affected: your tablet will lose it, since the update will erase it. You will still be able to enjoy your gadget’s important content and internal and external SD cards.
Prerequisites
The following list contains some crucial pre-requisites:
- the notebook you’re now using needs Windows as its operating system;
- the notebook and your tablet have to be running with their security programs deactivated;
- after you create regular backups, make a full NANDroid backup, too;
- the Samsung SM-T320 needs to have a fully charged battery;
- you should also download USB drivers for your tablet on the notebook (from here);
- turn on USB Debugging on your tablet.
Step by step instructions
After having gone through our requirements, time for the actual update.
- Step one: download the for your region on your computer. Wait for the download to end, then save this archive. Odin v3.09 is located on this page, so download it on your notebook next, then have it saved. Have the packages extracted with a special tool like WinRar and launch Odin v3.09.exe on the notebook.
- This is where you need to enter the tablet in Download Mode. A set of instructions will tell you how. Here you go: press and hold Home, Power and Volume Down simultaneously, after which wait till a boot message is delivered on the screen; press Volume Up.
- Create a connection between the tablet and the laptop; this requires the use of the USB cord which comes together with your tablet. If you notice the Odin displaying a blue sign, the devices are now correctly plugged to one another, so add the firmware file to AP / PDA.
- Very soon, you will need to check F. Reset Time and Auto Reboot, uncheck Re-partition and after that begin the new firmware’s flashing on your tablet. The firmware archive is easy to flash on the Galaxy Tab Pro 8.4 SM-T320: tap “Start“.
- This marks the beginning of the firmware’s flashing, as we said, so have patience for about 12 minutes. Time will be up when you come across this message saying “Pass” in green.
- The tablet is going to restart on its own in a very short while, so wait again for a bit as it does that. When it’s finished, the next and last step to be performed will ask you to unplug the tablet from the laptop (take the USB cable out for this).
- [sc name=”banner-jos”]The new ZCU1ANC4 official firmware has to be tested on your Samsung SM-T320. So launch it by selecting Settings, then About Tablet and tapping each of these options.
Now play with the new OS. If it fails short of your expectations, NANDroid backup file is your tool of choice. When used, it can bring back your device’s former ROM after it revoked the update.
You can always leave questions or comments in the section under this article.


