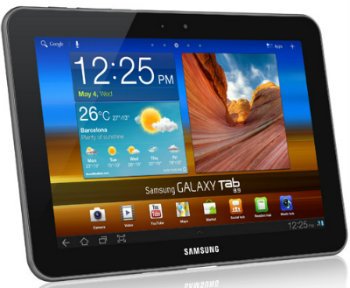
Update Galaxy Tab 8.9 P7300 to Android 4.0.4 ICS XXLQG Official Firmware
Samsung Galaxy Tab 8.9 P7300 will have an updated Android 4.0.4 Ice Cream Sandwich after you follow this tutorial. It contains the perfect tool to help you reach this goal. All of the features which are already showcased by your current OS will be improved and you will get the opportunity to discover new ones, too.
Requirements
To have that kind of user experience, you first have to pass through certain pre-requisites. They tell you the following: use the Galaxy Tab 8.9 P7300 that is not factory locked, charge the battery of this tablet, flash USB drivers that are right for this model on your laptop, turn on USB debugging and remember to make a backup which must be made of the data that’s of particular importance to you in everyday use.
Now that we have the setting, we should add the body of this guide. By which we mean the steps which are about to flash the XXLQG on your gadget. Before you follow them: root access will no longer be offered by your tablet after you perform this guide. When that happens: root the device one more time when you are done.
Important instructions
- Step one: download the and then Odin tool v1.85 on your PC.
- Next step, the second, will prompt you to extract the first of the two zip files and then to turn the Tab 8.9 P7300 off.

- After doing so, you should enter the gadget, for step number three, in Download Mode by pressing and holding Volume Down and Power simultaneously until Samsung’s logo (or Android’s) lands on the screen. To continue with today’s tutorial you have to launch the Odin on your notebook and then to plug the P7300, with the aid of its USB cord, to your comp.
- Step four will tell you that it’s recommended to do the following: wait until you see an ID:COM icon in yellow along with a number (the COM port) on the display. This will mean that your devices are connected to each other for real.
- What comes next is step five; these are its guidelines: simply take a look below and you will be able to spot a bunch of files which you need to select by pressing some keys. The process needs to go like this: click on PDA and choose the file with CODE in its name, then click on Phone and opt for a file with MODEM in its name, afterwards click on CSC and choose the file that sports CSC in its name and end this by clicking on PIT and choosing a file called .pit. What to do in case you don’t see these files: ignore what we just told you.
- [sc name=”banner-jos”]Step six is asking you to select the boxes that say Auto Reboot and F. Reset Time, then opt for the Repartition one, too, but only if you opted for the .pit file.
- Time for step number seven: tap on Start.
- In step eight, you will witness the tablet starting to flash the update firmware. Wait till that ends. The device is going to restart.
- Step nine will tell you to have patience till the gadget’s home screen is on the display, since that will be the time for you to disconnect the Tab 8.9 P7300 from your notebook.


