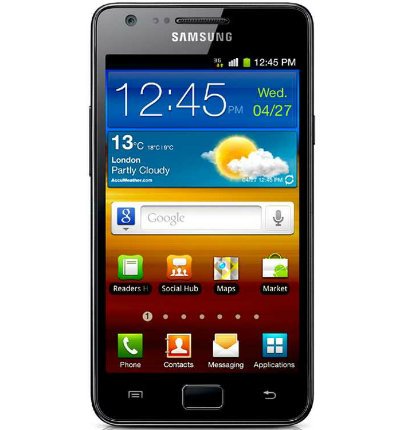
Update Galaxy S2 I9100 to Jelly Bean 4.3 Avatar custom ROM
Galaxy S2 I9100 is, for the beginning, middle and remainder of our tutorial, the smartphone which will get Avatar Jelly Bean 4.3 Nightly ROM.
Requirements
As usual with us, here are the pre-requisites that we urge you to follow:
- root the phone using a dedicated tutorial;
- help it get a custom recovery, via this guide;
- make backups (create a NANDroid backup with this tutorial, as well, after you are done with the normal one);
- your handset must be a factory unlocked one;
- you should charge its battery;
- also, don’t forget to turn on USB Debugging.

Installation guide
Now, if you are done, let’s move on to the part where we introduce the steps and guidelines which shall play the role in the updating phase.
- For one, make sure to download both Gapps package from here and the (file name: avatar-nightly_4.0.5-ac709b5757-20131015-NIGHTLY-i9300.zip) on your notebook. When these packages appear on your smartphone, you should create a connection between your phone and your laptop with the help of the USB cord which comes with the Galaxy S2 I9100.
- The zip files that your laptop contains must be moved to the SD card root of the smartphone, so do that and then unplug the devices from each other to enter the smartphone into Recovery Mode, using this tutorial. That should happen like this: press and hold, at the same time, Volume Down + Home + Power, then let go of these 2 keys once you see the Recovery Menu on the screen.
- Now is the time to make that NANDroid backup should you have skipped the part where we told you to perform a NANDroid backup as well as a regular one.
- But keep this in mind: creating such a backup heavily depends on what custom recovery your phone uses. If it’s the TWRP one, you have to tap “Backup”, give the file a new name and then swipe so that you can save the ROM for the update. If your device is working with the CWM, you should opt for Backup & Restore and afterwards back the file up on the internal storage of your handset.
- For the next step, a factory reset should be applied. Here’s how to do that if the CWM is on your phone: choose Factory Reset/Wipe Data and confirm.
- Apply a factory reset on a TWRP-running phone by pressing “Wipe” and then confirming the process by swiping a blue-colored button sitting on the screen’s bottom. To install the custom ROM files on your TWRP-using handset, you should choose “Install” and then confirm the flashing of the Avatar Android 4.3 based Nighty ROM archive by swiping the blue key.
- [sc name=”banner-jos”]But if your device has the CWM custom recovery, you have to opt for Install zip from SD card and for Choose zip from SD, then confirm the installation of the update file.
- To get the Gapps file, you need to repeat the actions which flashed the other file. Then go back to the Recovery screen and restart the phone from that place.
- Then, once you have all the files on your I9100, you will be able to go to your Gmail account, enter your data there and enjoy the upgrade in all its glory. Should you happen to dislike what you see, then just go back to how things were with the aid of the NANDroid backup file.
In case your Galaxy S2 goes through a boot loop or more, you can do the following: redo the guide (all of its steps).


