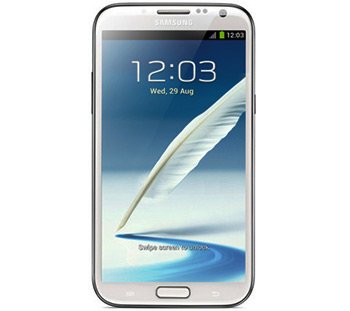
How to Update Galaxy Note 2 SGH-I317M to Android 4.3 MUMUCML2
Galaxy Note 2 SGH-I317M comes with the right amount of features to make it an instant favorite. But how about we tell you how to spice things up via an update? Here’s how!
The upgrade that we want to tell you about in today’s guide uses MUMUCML2. This new official firmware was released this month for Mexico (Telcel). Its purpose is to feature Android 4.3 on your Galaxy Note 2 I317M.
What’s great about this update is that it will allow you to use these goodies: new features, a great performance due to the many tweaks and options and a longer battery life (because of loads of numerous tweaks that help prolong the phone’s life). What’s more, you will also get to experiment with the following: new apps and many great customization options. You won’t meet bugs along the way.
You should only perform our tutorial if your handset is the model we indicated. If it isn’t, you will brick whatever other model you’re using. Also, if you feel like, you can go ahead and update the device via Samsung’s KIES: the KIES logo is already turned on for you.
In case the smartphone gained root access via a rooting procedure, you should be aware of this: the new firmware will revoke root access. It is also going to do this: erase system partition. But it won’t damage your phone’s important data or internal and external SD cards.
Prerequisites
You will now have to consider these requirements:
- you have to fully charge your handset if it’s battery is running low;
- uninstall, for this guide, the security software installed on your laptop and smartphone;
- download USB drivers for your Galaxy Note 2 SGH-I317M on the laptop;
- turn on USB Debugging on the handset;
- make a couple of backups (which should be a regular one and a full NANDroid one);
- use a laptop that comes with Windows.
Step by step instructions
These are the only preparations you should make before the upgrade starts.
- When you’re finished with them: download Odin from this location and the Jelly Bean 4.3 MUMUCML2 stock firmware ( the Mexico Telcel version) on your notebook. At the end of this task you have to extract them.
- Use either 7Zip or WinRar for this and then boot the smartphone in Download Mode. Like this: press and simultaneously hold Volume Down and Power till the logo of Google comes on-screen, then be sure to let go of Power and wait for a Bootloader Mode to be displayed; when you see it, press Volume Down 2 times and wait for Recovery to show up.
- After you see it, you need to press Power and the device is going to reboot into the Recovery Mode. Open, next, the Odin as Admin on the notebook.
- After that you should establish a connection between the handset and the laptop. Move on after you spot an ID:COM box in yellow and “Added!!“. In case there’s no connection going on: select another USB port to make use of or flash the USB drivers once more.
- Now be sure to tap BL and select a file with BL in the name. Afterwards do this: click on AP, opt for a file with AP in the name, tap CP, opt for a file with CP in its name, tap CSC, choose a file which has CSC in the name, tap PIT and choose a file with an extension called .pit.
- These boxes will have to be activated next: F. Reset Time, Auto Reboot and Re-partition.
- The new firmware can now be installed on your Galaxy Note 2 SGH-I317M. Begin the process by tapping “Start”. Then simply wait for the flashing to be done. Which will happen very soon.
- [sc name=”banner-jos”]Once the time’s up, your handset will reboot and after that it should greet you with this message: “Pass”. There’s no need for a connection between your smartphone and the laptop anymore, so remove the USB cable you used for the plugging. The MUMUCML2 firmware can be found if you tap Settings first and then About Phone. You will see it soon.
Once you do, try it out, make sure you like it. If you don’t, the old ROM can be retrieved. Via this method: go to the place where the NANDroid backup file was saved, then use it to restore the previous ROM and thus revoke the update procedure.
If there are questions or comments you want to leave, use the field below.


