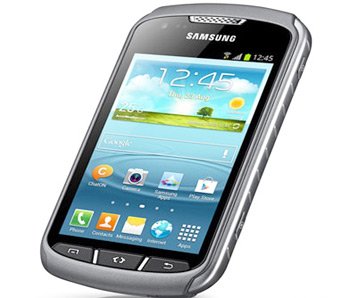
Install XXAMC3 Jelly Bean 4.1.2 Official Firmware on Galaxy Xcover 2 S7710
Galaxy Xcover 2 S7710 is, today, the phone that is going to be updated to Android 4.1.2 via official firmware known as XXAMC3. You don’t have to root your device or flash a custom recovery image on it first.
Requirements
But you do have to make a backup using this guide (don’t forget to also backup the content on the phone’s internal memory to an external memory card), install USB Drivers for it on your laptop, have a Galaxy Xcover 2 S7710 that is unlocked, turn on USB debugging, use a PC/laptop that is running Windows (or use CrossOver Utility if your OS is Mac or Linux) and charge the battery unit of your smartphone if it shows signs of emptying.
Important instructions
- Step one goes like this: download and Odin tool 3.07 on your laptop. The content of both these files will have to be unzipped on it, then look for Odin3 v3.07.exe and .tar.md5.
- Power the handset off.
- Once the device is no longer running, you need to press + hold Home, Volume Down and Power; stop when the logo of Android appears, then press Volume Up and voila, you’re in Download Mode. Be sure to run Odin as an Administrator now by right-clicking on odin.exe file and then, from context menu, on Run as administrator. Plug the phone to the computer when you’re done with this stage of our tutorial.

- In step 4, your task is to opt for some files to flash them on the smartphone. Here they are:
– the file you’ll see named as CODE (among other letters); click on PDA to be able to select it;
– the file with MODEM in its name (it should pop on the display after you click on Phone);
– the file sporting CSC as part of its title (gain access to it by clicking on CSC);
– the file that is called .pit (it will appear once you click on PIT).
If you don’t see the files, nothing’s wrong. You have to just ignore the above instructions and instead check the boxes named F. Reset Time and Auto Reboot (check Repartition as well; but do that only if the file you did see from the four above is the .pit one, which you eventually selected). - [sc name=”banner-jos”]The fifth step needs you to hit Start, wait for the Xcover 2 S7710 to install the firmware and then for the device to reboot; if PASS plus a green background in Odin happen, then make sure to disconnect the handset from the laptop.
- The sixth step tells you to get ready to experience your Galaxy Xcover 2 S7710 with all the features the Android 4.1.2 entails (the XXAMC3 is in your handset’s “About phone“).
Only do the following if you are prepared to lose the data on your smartphone: go to Recovery Mode, perform Factory reset/Wipe data together with wipe cache partition in case your Xcover 2 S7710 is stuck at the manufacturer’s logo (or at boot animation) and, at last, choose the system restarting. That way, the device will no longer experience the said issues.


