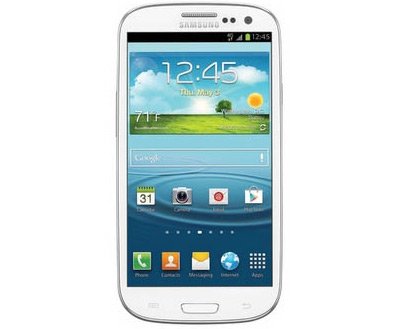
Guide: Install Slim Bean ROM on Galaxy S3 SGH-T999 (T-Mobile)
As soon as Samsung launched their Galaxy S3 SGH-T999 (T-Mobile version), developers have tried to create a method which would help those interested install a custom ROM on it. Till one day, when one of these developers came with one called Slim Bean.
Thanks to him we can now tell you how to get it on your smartphone with some steps which are some of the easiest to follow. So don’t hesitate; give our tutorial a chance. You will be safe from ruining your device, trust us; but make sure you do everything that’s discussed in this guide of ours.
Requirements
The only things which are now getting between you and this procedure are called requirements. They are a huge part of every guide of this kind. So let’s see which ones apply for this post. First of all, don’t forget to put all the important data that’s on your S3 SGH-T999 in a backup. Then charge the battery of this handset till its icon reads “100% full”.
Once you’re through with this pre-requisite, here’s another one to keep in mind: download two files whose names are (the archive is called Slim-d2att-3.1.0-OFFICIAL.zip) and , respectively. If the links are not working, try to copy and paste them directly in your browser. Use a laptop whose manufacturer chose Windows as operating system. Final requirement is as follows: see whether or not your smartphone has a custom recovery image (one called ClockworkMod Recovery in particular, available in the first link).
Good, now comes the most important part where you find out how to install the Slim Bean ROM on your Samsung Galaxy S3 SGH-T999. Use the steps in this tutorial wisely and take your time doing it.
How to flash Slim Bean ROM on Galaxy S3 T999
- In order to complete the first step the correct way, you need to move the Slim Bean ROM archive and the Google Apps pack to the memory card which is pre-installed on your device. When that’s all settled with, switch the smartphone off.
- Step two will require you to restart it into that Custom recovery image we’ve been telling you about; but how? Select and keep pressed the buttons for Power, Volume Up and Home until you see that the phone’s display comes to life. When that happens, generate a NANDroid Backup by locating Backup&Restore and then selecting Backup when you find that option.
- For step number three you should choose Factory reset/Wipe data and select Yes. Then tap on Wipe cache partition and opt for Yes.
- [sc name=”banner-jos”]Step 4: choose Advanced, then Wipe Dalvik cache and then select Yes.
- For step number 5 you have to opt for Install zip from SD card, select the installation of the zip archive from the memory card, choose Locate and then tap on Slim-d2att-3.1.0-OFFICIAL archive followed by the selection of Yes from the list of options.
- Choose that the installation of the zip archive to be performed using the phone’s memory card, opt for Choose zip from SD card, select Locate and click on the Google Applications pack.
- And now for the last step: opt for Go Back and restart the system at the end.


