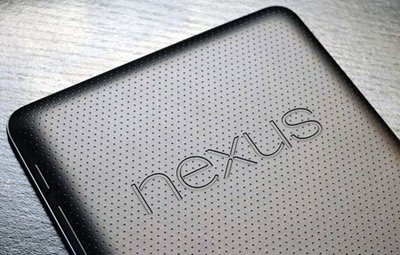
Install ClockworkMod Recovery Build 6 on Google Nexus 7 (2013 edition)
Google Nexus 7 has a 2013 version you can flash with a custom recovery image. For this tutorial we wish to let you know how to install CWM Recovery Build 6 on your tablet.
In case you have no idea what a custom recovery image is and what it can do, we will tell you. The new firmware lets the owner of a gadget customize the latter as he or she wants. So if you came across a custom ROM and wanted to flash it on your gadget, you can do so after you’ve installed the ClockworkMod Recovery on it.
This is a tool whose advantages are multiple; you will also be able to enhance the overall way in which your tablet performs. The battery of the Google Nexus 7 2013 version will offer a longer hours for you to use. Good news: your device doesn’t need to be rooted before you can apply the custom recovery image. It’s equally fine if you’ve already rooted the gadget.
If you are faced with the loss of your tablet once the tutorial is done, you should get it back by doing as follows: upgrade the gadget with official Android operating system version.
Requirements
The requirements below should be followed so that your Nexus 7 is prepped for the guide:
- create backups as usual;
- charge the battery of your tablet;
- use the bootloader unlocked version of the Google Nexus 7 model;
- turn on USB Debugging on the tablet;
- open your PC, go to the antivirus software you have on it and deactivate it;
- open the tablet and do what you just did for the device above;
- download on your notebook;
- flash Android SDK and then fastboot on your notebook.
You are now done with the pre-requisites that must always come before the actual installation steps. The things that need your attention now are represented by the following instructions.
How to flash CWM Recovery on your device
- First of the guidelines that will flash the ClockworkMod Recovery on your Google Nexus 7: after you’ve finished with the download of the Recovery Tool on your laptop, you have to make sure it’s saved on its desktop before you give a “clockworkmod.img” name to the said file.
- After you rename it, you need to send it over to where you have the fastboot, then switch the tablet off.
- Reboot the gadget in Bootloader Mode by pressing and holding Power + Volume Down together, then plug the device to your notebook.
- Now launch Command Line window in the fastboot folder and type in
fastboot flash recovery clockworkmod.img
fastboot reboot-bootloader
in the cmd window. - [sc name=”banner-jos”]When done with this, you have to wait until the custom recovery image is flashed on the tablet.
- Once the end of the installation approaches, you should see if the Nexus 7 reboots into the Bootloader Mode and then, when it does that, you need to enter the Recovery Mode to see whether or not the CWM Recovery Build 6 works on your tablet.
- In case everything is fine, you can restart the device by opting for the tablet’s restarting option. After the tool is correctly installed on your gadget, we recommend you to go on a search spree for everything related to kernels, custom ROMs and all kinds of customization options and features. Or look for a tutorial on how to root your Nexus 7 2013 variant.


