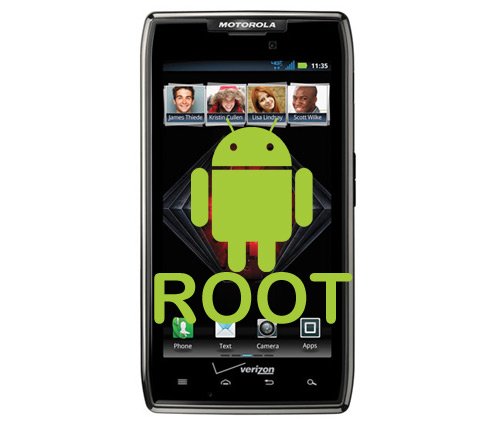
How to root the Motorola Droid Razr Maxx
Another smartphone that should have been rooted before and thankfully is now is Motorola’s Droid Razr Maxx. This device has quite a number of people who appreciate what it can do and who felt a root was necessary so as to fully enjoy it.
The one to spread the firmware than can root the Droid Razr Maxx is Dan Rosenberg. However, before rooting this model, there are some requirements and steps to follow. But, before any of them is followed, users need to know that after its installation, the phone’s warranty becomes void. And the process is compatible with laptops or personal computers that run on Windows alone. In order to get the warranty back, you have to apply the factory firmware once more.
Requirements
Now we will tell some things about what you are required to do before installing the firmware to root the Razr Maxx. First choose all the important data and create a backup for it. How?
By taking a look at these options: use the app called SMS Backup & Restore for text messages, do a synchronize with the Gmail app for Phone Contacts, Restore for Call Log and call Log, copy the files to the external SD card / internal memory the files, videos, music and photo, and, finally, backup all the settings. You must the following tree: Apps > Phone Settings > Wireless and Network > Mobile Networks > Access Point Names for Internet and MMS Settings.
Other requirements you must consider are the following. Get Droid Razr Maxx USB Drivers for your laptop, make sure that every antivirus software is switched off (the Firewall tools also need to be turned off) and check if the battery is fully charged or below 60%. If it is below, charge it as soon as possible.
Important instructions
And that ends the requirements phase and starts the installation phase. Which is made of steps you must follow to the book. Here we go with our “how to” guide.
- The first step is to enable USB debugging in your phone. Go to Settings, choose Applications, then Development and then USB debugging. Tick the latter if it is not ticked beforehand.
- [sc name=”banner-jos”]The second step requires you to get the Razr Maxx Rooting Package to your laptop. Then you need to extract it there. To see whether all the right files are inside the package, open it when the extraction is over and take a peek.
- If everything’s alright, proceed to step 3. For which you have to connect, with the help of a USB cable, the phone to your laptop or PC. After this open an executable file called “run”. You can find it in the extracted files. Now watch as the smartphone and the laptop begin the rooting process.
- The final step is to sit once again and see as the phone will enter into a rebooting phase. Should you notice that there is something wrong during the rooting, consider going through the above steps once more, starting with step 1. Once the root is successful, use the backup to see to it that your important data returns to its rightful place.
Which concludes the rooting process.


