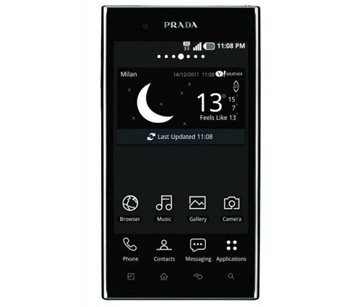
How to Root LG Prada 3.0 P940
LG Prada 3.0 P940 was born two years ago and it came with big expectations. While it didn’t manage to exceed them by 100%, the smartphone didn’t flop in sales because it looked good and performed great. However, with rivals such as Samsung and Apple, the Prada 3.0 P940 had a long way to go. Still, people bought it and were satisfied with it.
Now the question remains: how can one give this model a nudge in the right direction? In other words: how can you, its owner, get the maximum out of it? Rooting is the best procedure to help you gain this.
Requirements
The one thing that may deter you from rooting your phone is the fact that you will need to say goodbye to the phone’s warranty at the end of the guide.
To say hello again, all you have to do is to unroot the Prada 3.0 P940. The tutorial is going to offer good results only if you abide by the following requirements: charge the battery of the handset, keep close a laptop with Windows as its operating system and create backups via our guide.
Important instructions
- Step 1 of this tutorial that we propose for today: download and on your computer and check twice to see if both files are on the desktop. The content of the files should be extracted to the same place, then install the drivers for this Prada 3.0 P940 by launching a folder that is part of the archives: Drivers. You must access the hosts file folder.
- Your tasks for the second step will look like this: copy the hosts file to the directory called C:\Windows\System32\drivers\etc.
- The success of step number three resides in these guidelines: open Flash Tools (a folder), copy shttps folder to the C:\ drive, then launch the shttps directory.
- Step number four will have these operations ready for you to follow: run http.exe file, run msxml.msi from the Flash Tools and install LG Flash Tool; the latter action needs to be performed using the following method: double-click on B2CAppSetup.exe file (this is in the Flash Tools folder). Enable USB debugging on the Prada 3.0 by finding Menu, choosing Settings, tapping on Developer options and finally checking the box next to USB debugging.
- Plug the smartphone to the laptop, switch it off and then reboot it into Software Update Mode by pressing + holding Volume Up and Power simultaneously.
- Step six has these in store for you: launch UpTestEX_mod2_marwin.exe file from the Flash Tools folder and go to “Type” so you can opt for 3GQCT. Now select “Emergency” as PhoneMode, then opt for KDZ file when you see “Select KDZ file“. Hit Normal web upgrade test.
- [sc name=”banner-jos”]Click on Upgrade start. Up next: go to Country menu and opt for Different Country; now select “English” when you’re in the Language menu. Hit OK.
- In step eight, the file will begin its flashing stage. This is the right moment to go to C:\ProgramData\LGMOBILEAX\Phone directory and then change the .bin file with the one that’s in Patched v20d firmware part folder (that is on the laptop’s desktop).
- Wait for the installation to be over. Initiate the execution of the root.bat file that is situated in the Root folder of the comp’s same desktop. The LG Prada 3.0 P940 shall soon begin to root. Don’t get scared if the phone reboots a couple of times; it’s only natural to do so.


