Enter Recovery Mode on Locked Android devices
You have the possibility to enter your Android gadget – phone or tablet, doesn’t matter – in Recovery Mode even if your device is either rooted or locked. We will let you find our how to boot your gadget in Recovery Mode if it’s a locked model.
A Recovery Mode has a lot to do with something known as custom recovery image. This tool is used when you want to root your tablet or your handset running the Google’s operating system. Every Android gadget out there comes with a pre-flashed stock recovery image. However, you can only use such a tool if you want to perform something using an official route. An unofficial route requires CWM or TWRP.
The advantages which one of the latter sports are many: you can install a custom kernel or ROMs, improve the performance of your device and such. After you are done flashing a custom recovery image, you can follow a rooting tutorial based on your gadget model. When the process reaches an end, the warranty on your tablet or phone will be wiped out, so get it back by installing official Android software; or downgrade to stock firmware as an alternative.
If you are set on install TWRP or the CWM one, your device must have root access. Which translates into the following: you must perform an operation called unlocking if the device is locked. But today we shall introduce a way to enter the Recovery Mode if you own a locked Android gadget.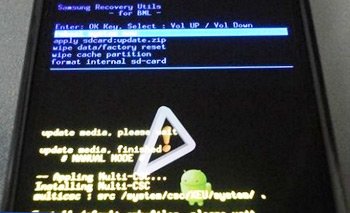
First, though, get familiarized with the following: boot your device into Recovery Mode by powering the handset/tablet off, having a bit of patience, pressing and holding Power and Volume Up together, then waiting some more.
After these actions are performed as instructed, the Recovery Mode will appear; if it doesn’t, repeat what we told you to do just now. Or you can try another approach as shown in the upcoming paragraph.
Requirements
[sc name=”banner-jos”]
Below are all the pre-requisites that one must follow so that the procedure does not go badly:
- create a backup that is necessary for the preservation of your device’s content;
- charge the battery of your Android device;
- turn on USB Debugging on the tablet or the handset you have on you;
- install – on your laptop – USB drivers that are compatible with your gadget.
Instructions
- If you’re done completing the above pre-requisites, you should look for and flash it on your notebook. This tool works on comps or laptops that have either Mac, Windows or Linux pre-installed.
- Then, after the necessary file is on the laptop’s or PC’s desktop, you should move on to the next step: plug the phone or tablet to your laptop and go to the fastboot directory which has that Android SDK tool.
- Now launch a Command Line Window and enter
adb reboot recovery
inside it. - Next up: wait for the phone or your tablet to enter, on its own, in the Recovery Mode Menu. Your locked Android gadget is now in the mode we promised it would be.
If all of this didn’t work: repeat the whole guide. Then, after the Recovery Mode has been attained at last, use the Recovery Menu to do the following (and more): flash a custom ROM (or as many as you like), create a full NANDroid backup and more.


